


I then began modelling, I am very happy with how the final model turned out. It was very important that I got the model to look realistic as it needs to match the footage as best as possible. I found modelling the handles quite challenging at fist and I could only faintly remember a few techniques so I used a two part tutorial to help refresh my mind and help me to create the handles of the bin. Below are two links to the two part tutorial.
So after spending a lot of time on creating the model it was finally done. Below are images of the finished model of the dustbin.

Front View

Side View Left

Side View Right
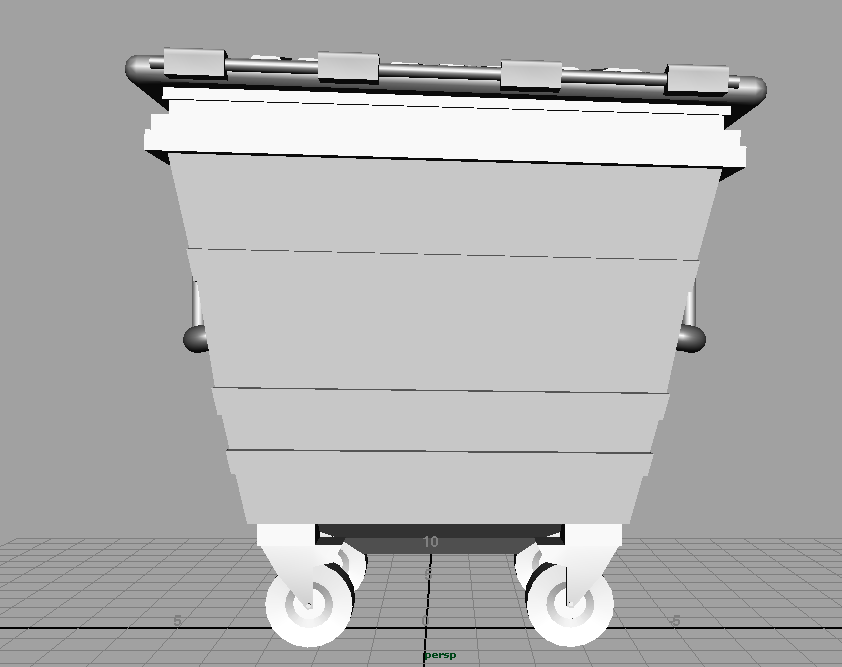
Back View

Bottom View

Top View

Perspective View
The next step was to UV map the dustbin model so that I could texture it. It was key that I got the UV map good enough in order to apply the texture well enough to make the bin look as realistic as possible. Below is an image of the UV layout before I UV mapped the bin.

I then used automatic mapping to UV map the bin, below is an image of what the UV layout looked like after automatic mapping it.

As you can see this looked a lot better however there were still hundreds of pieces and some were extremely miniscule. All these pieces needed to be sewn together to create shells that clearly resembled parts of the bin. This is so I could clearly see what part of the bin I was texturing. After a very long process of going through all of the pieces and sewing them to their correct partners, I had finally finished UV Mapping. Below is an image of the finished UV Layout of the bin. I'm very happy with how the UV layout turned out especially as I put so much time and effort into it. I think that everything is laid out very well and you can clearly see what part of the bin each shell represents.

So the next step was to texture the bin. I did this by taking a UV snapshot of the UV layout of the bin (as seen in the image above) and opened it in photoshop I then applied the textures. Originally I was going to take the textures from the pictures of the actual bin that I used for reference, however I found this was not the best way as it caused the bin to loose its realism. So I then got my textures from images from google. Below are the images of the textures.

Above is an image of the dark metal texture that I used for the body of the bin.

Above is an image of the dark silver metal that I used for the wheel holders.

Above is an image of the black rubber texture that I used for the wheels of the bin.

Above is an image I used for the texture of metal inside of the bin's wheels.
I decided that these textures made the bin look a lot better. I compared my textured model to the images that I took of the real bin and decided the bin looked too dark. So I went back into photoshop and tweaked the textures. Below are the images of the edited textures that I used.

Above is an image of the dark metal texture that I used of the model bin. It differs from the original image because its cut closer to the lighter bit in the centre.

Above is an image of the light metal texture used for the inside of the bin's wheels. I edited it by applying a darker silver over the top just to give it some life.

Above is an image of the darker silver metal texture that I used for the wheel holders of the bin. I edited this by painted some patches of dark silver over the top. This made the wheel holders look more realistic.
Below is an image of the finished UV snapshot with the textures.

I had now finally finished the bin, below are images of the finished bin.

Front View

Side View Left

Side View Right

Back View

Bottom View

Top View

Top Perspective View

Perspective View
Overall I am very happy with how the dustbin turned out. I think that my hard work paid off. If I were to do it again I would add more detail to the texture. Such as the logo's and writing that is on the actual bin form the reference images. I tried to do this when texturing this bin but I could not quite get it right as the UV layout needed editing again. This meant i needed a lot more time, if I were to put these extra additions onto the texture. Unfortunately I didn't have the time to solve this problem as Will needed the bin so he could animate. So I had to leave the bin as it was in order to remain on track and move on to the next stage of the project.


